Sugar-Bush-It-Old-School: Step Four
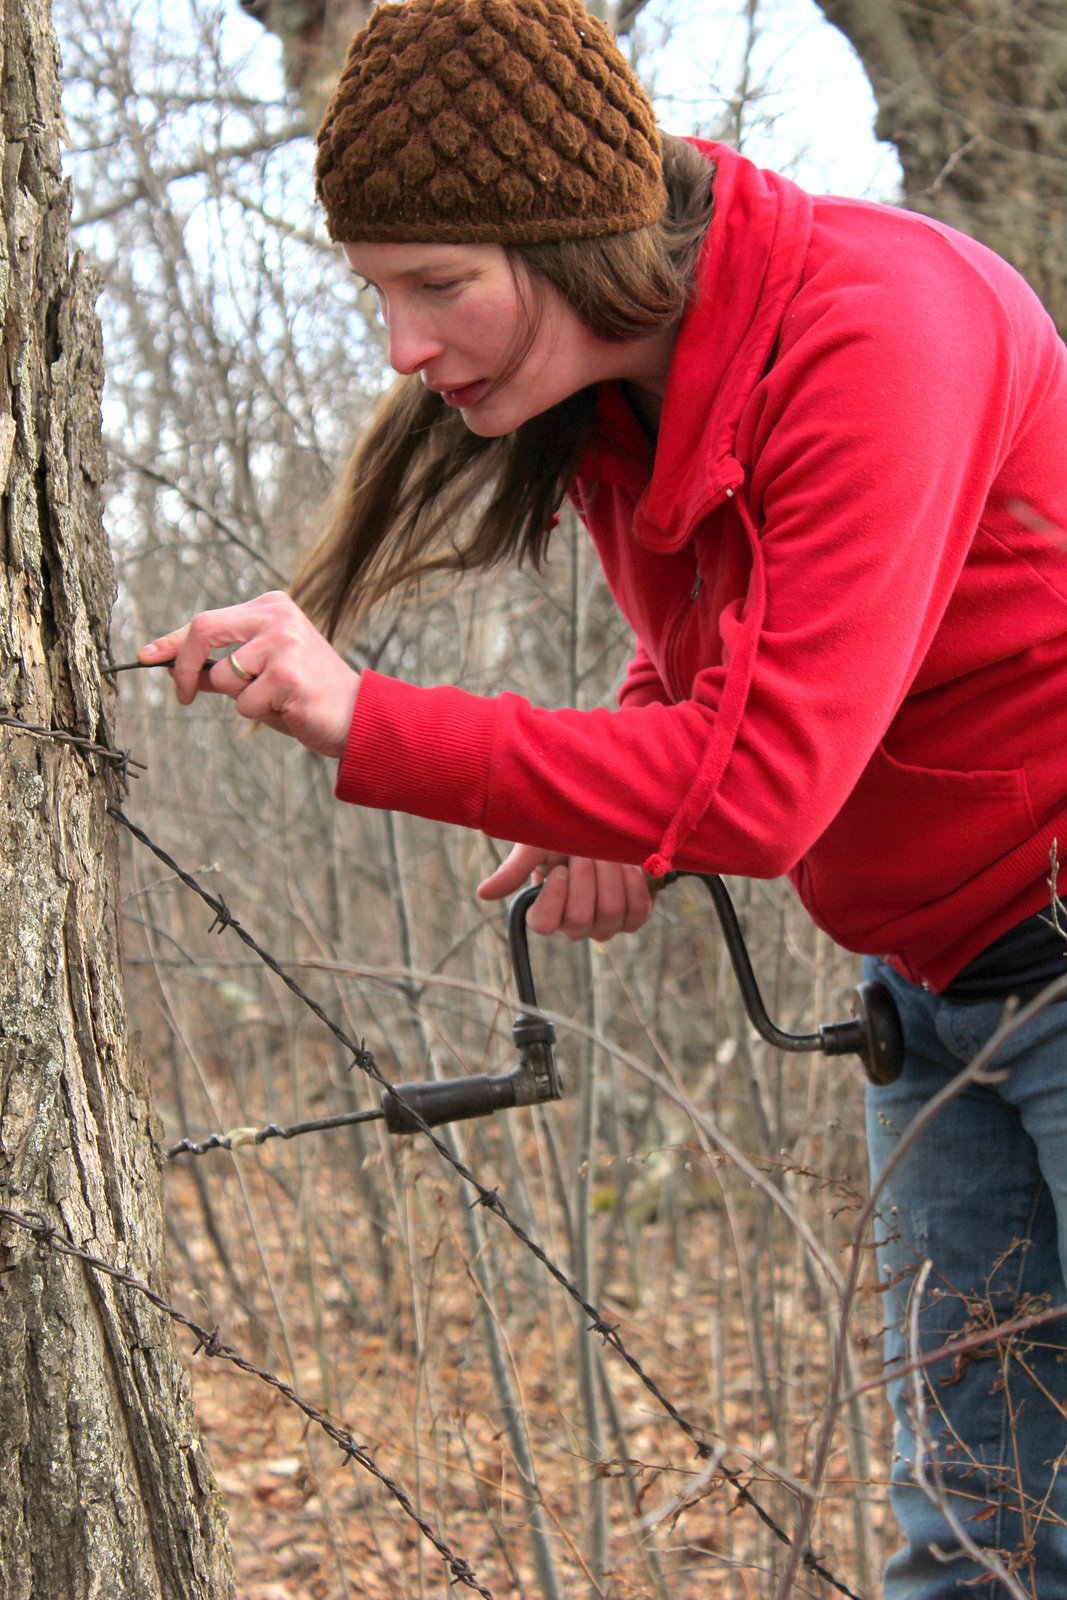
Here's the fun part-- drilling and tapping. (Of course, in the absence of an old-timer, Google should be trusted more than shotsnaps, so if you're really going to tap trees, don't put your eggs in this basket)
For this pictorial guide, you may thank Annika, who, when asked to hold my camera as I drilled, proceeded to take enough pictures for a flipbook home movie.
Ready?
-Find some sugar maples
12-20" in diameter: one tap
21-24": two taps
25+": three taps
-Drill about 2 inches into the tree, roughly three feet above the ground.
-Drill at least six inches away from any old taps and 12+ inches from any new

-Tap above a major root on the south side of the trunk (which gets the most sun) to achieve the best flow.
-Drill on a slightly upward tilt. Use your mighty belly to brace the drill.

-Using your professionally gathered twig (which you should hold in your mouth until needed: see first picture), clean out the wood shavings from each hole.
-Grab your can of beans and pound the spile in, far enough to anchor it solidly without splitting the wood.
-Using wire, hang a jug from each spile, but only after letting each of your children get their first taste of the season's sap.
Child #1:

Child #2:

Child #3:

Child #4:

Child #5:

If you think this looks like fun, it is. Tasting the first drop of sap
is worth all the hassle. Like any worthy hassle, you'll find the work
balanced by the reward. That didn't keep me from heaving a sigh of relief when I stumbled into the house three hours later, though. Thank goodness it's done!


No comments :
Post a Comment